x1 desiccant upgrade
If you've done any FDM printing you probably know how important it is to keep your filaments dry if you want your prints to turn out well and avoid warping, stringing, and other defeats.
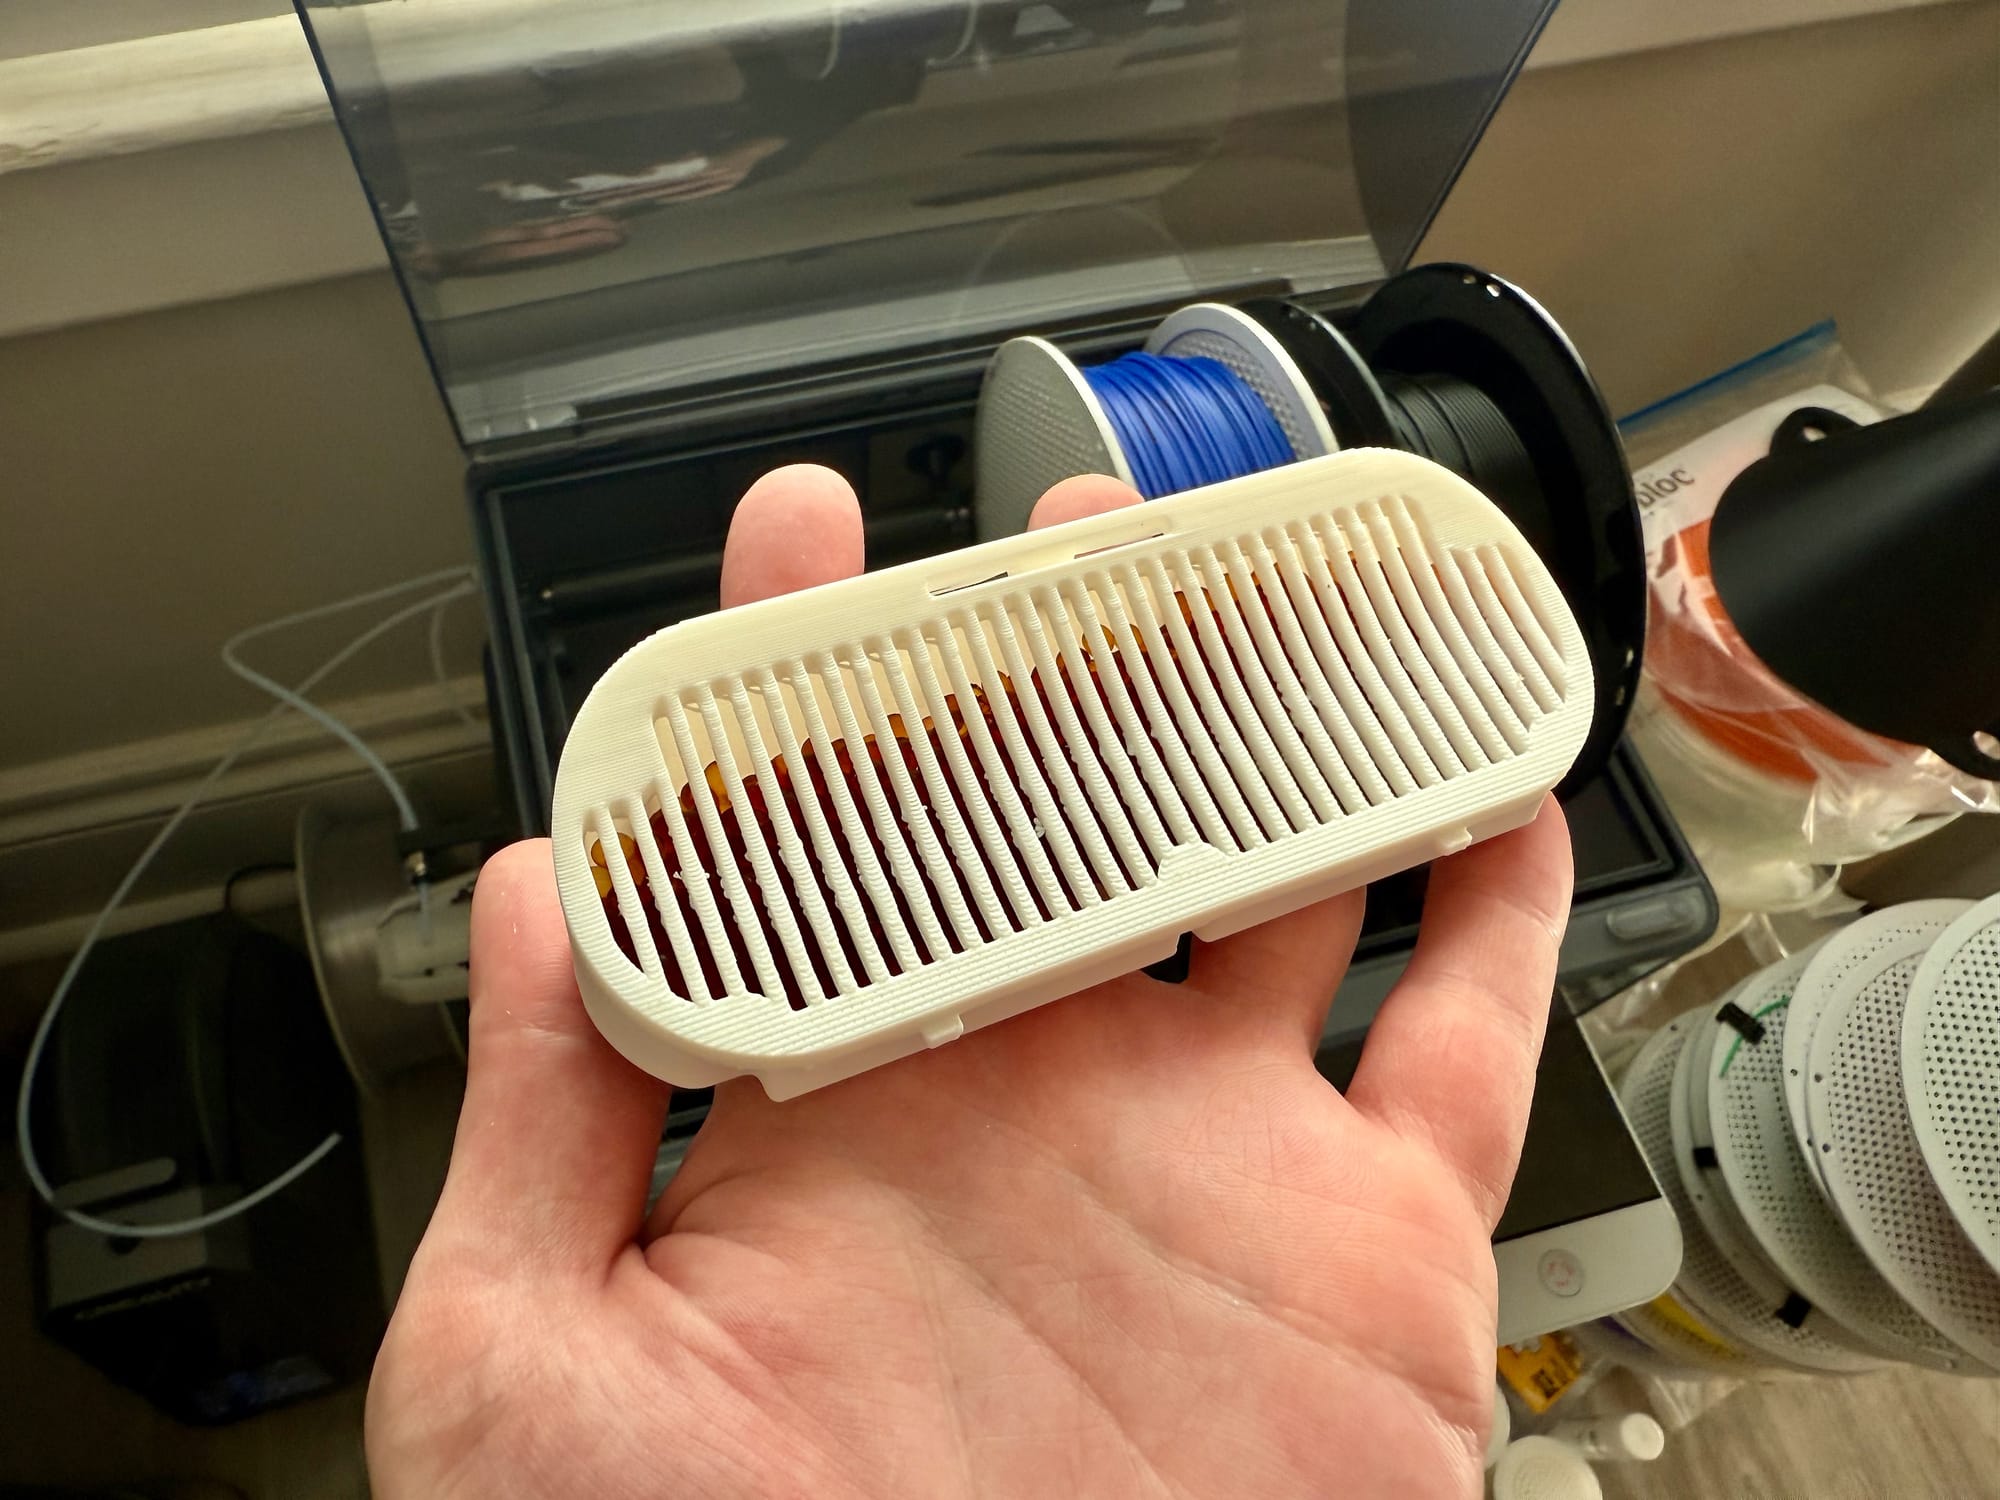
I recently purchased a Bambu X1 Carbon 3D printer with the add-on AMS unit and have been having a blast getting back into making things. This is my second printer (still need to finish upgrading my Prusa MK3S+, more on that another time) and I'm just blown away by how consumer friendly and easy it is to use. I've printed ~60 or so different models with it so far and have had only a few failures, and the quality has just been outstanding all around.
If you've done any FDM printing you probably know how important it is to keep your filaments dry if you want your prints to turn out well and avoid warping, stringing, and other defeats. The AMS unit comes with two slots below the 4 spools allowing you to store desiccant packets. Desiccant is a substance that absorbs moisture from its surroundings to keep items dry and prevent damage from humidity. The printer of course comes with a couple packets to start, and they're not expensive to order more - but I did some research and found that people have already created custom desiccant holders that fit the AMS unit perfectly.
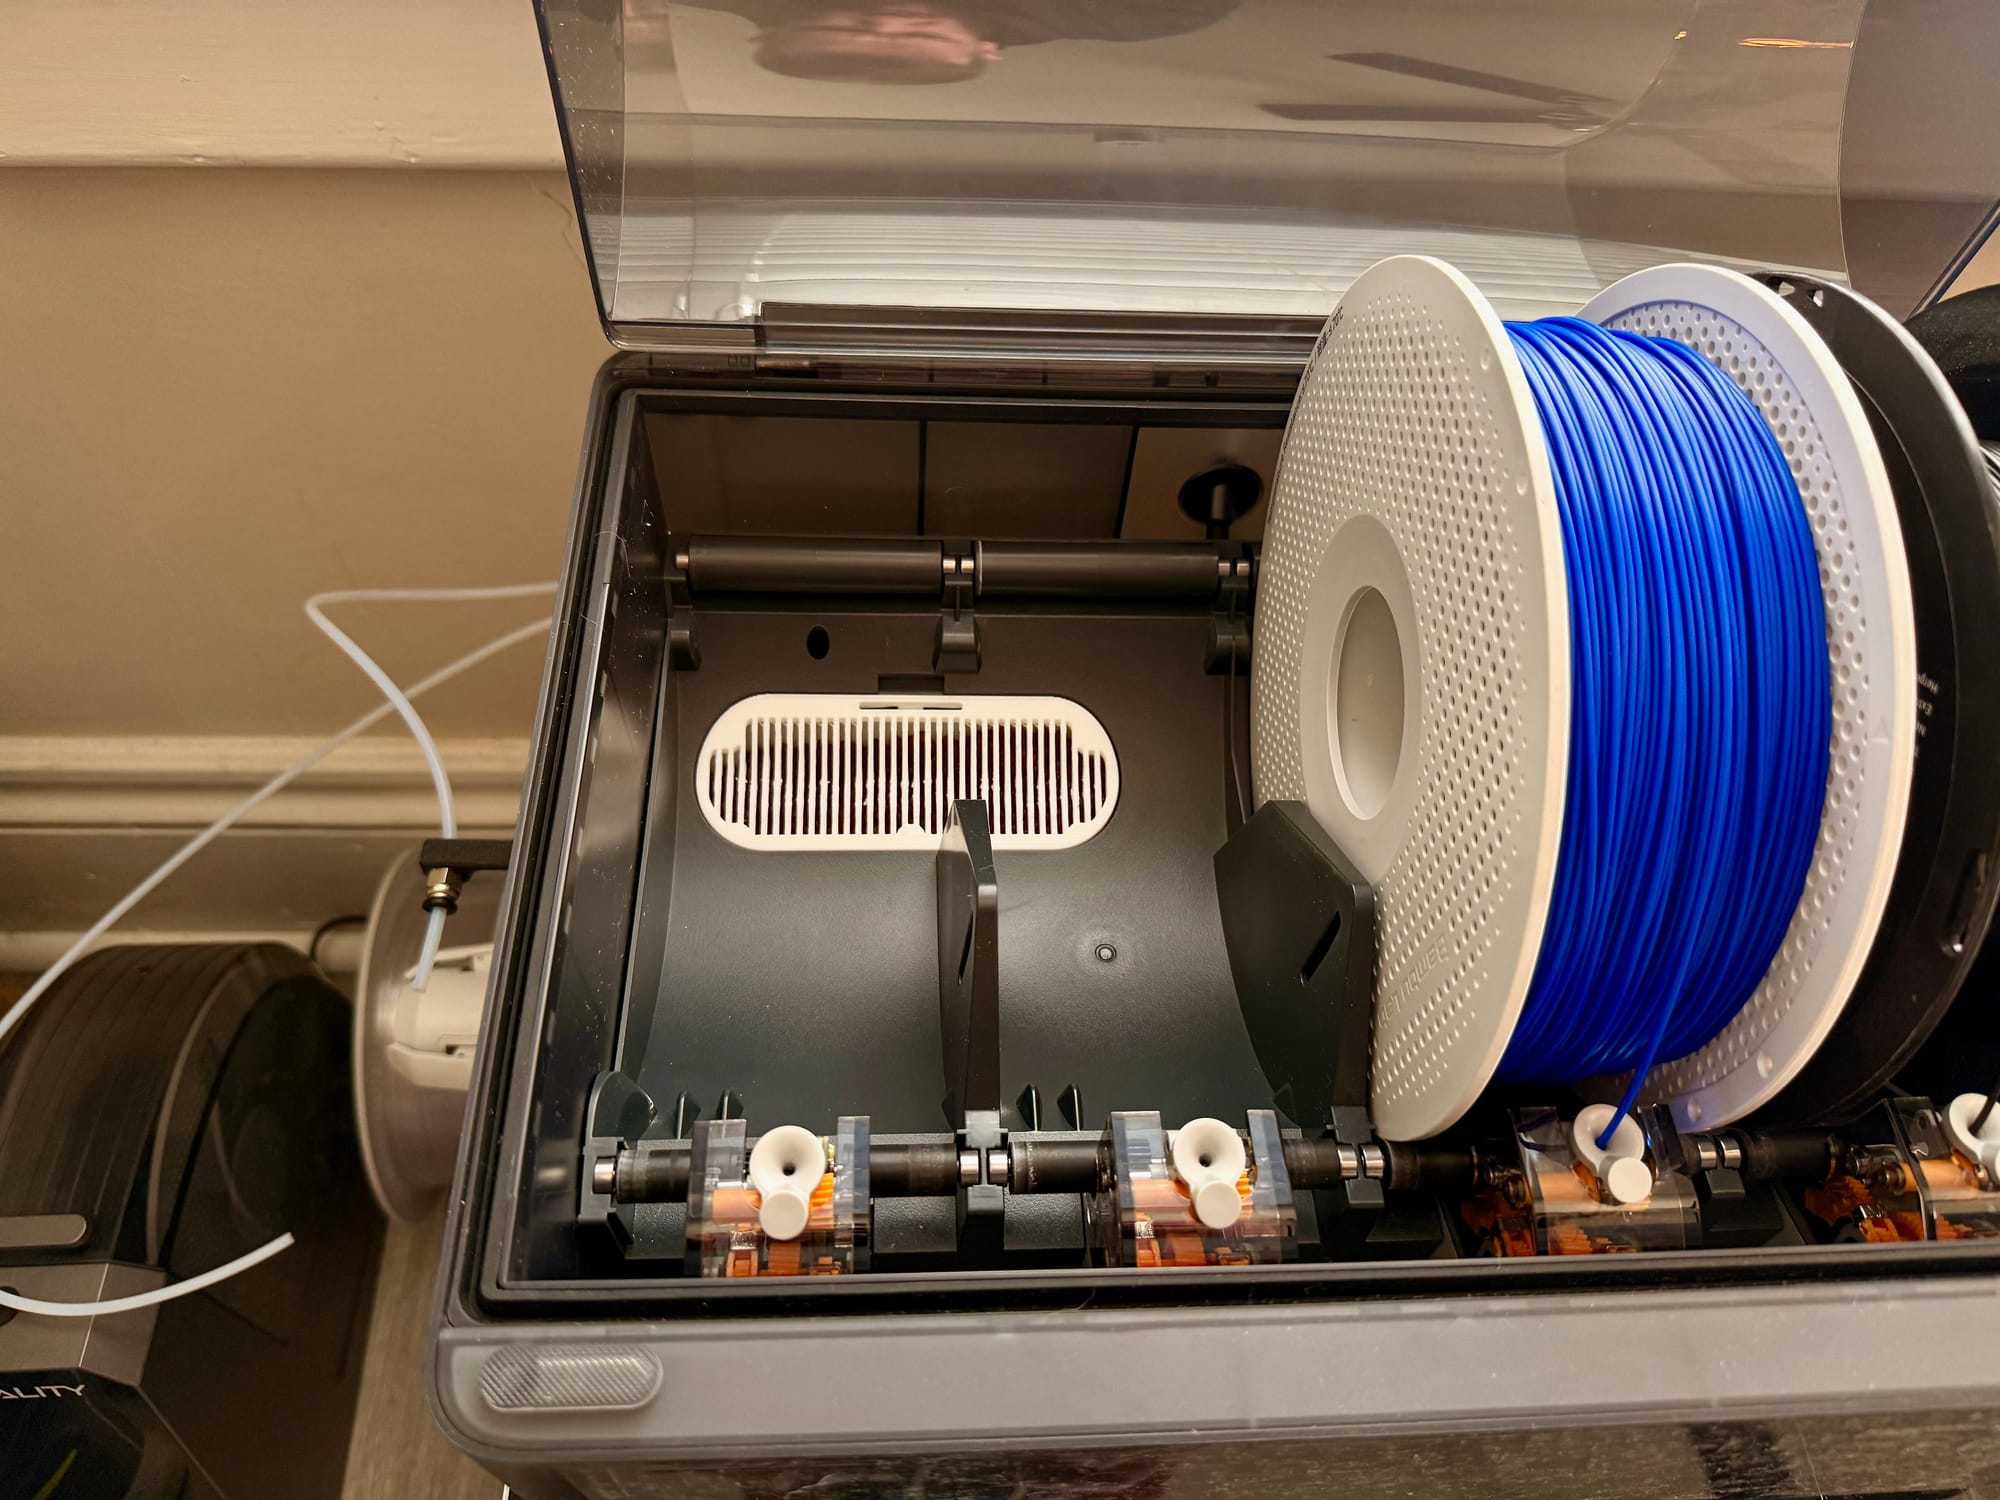

The first model I came across is called the Snap-in AMS Desiccant Holder by schutz on MakerWorld. It was really easy to print, fill up and seal up with the little hatch on the bottom, and snapped right into the existing slots below the spools.
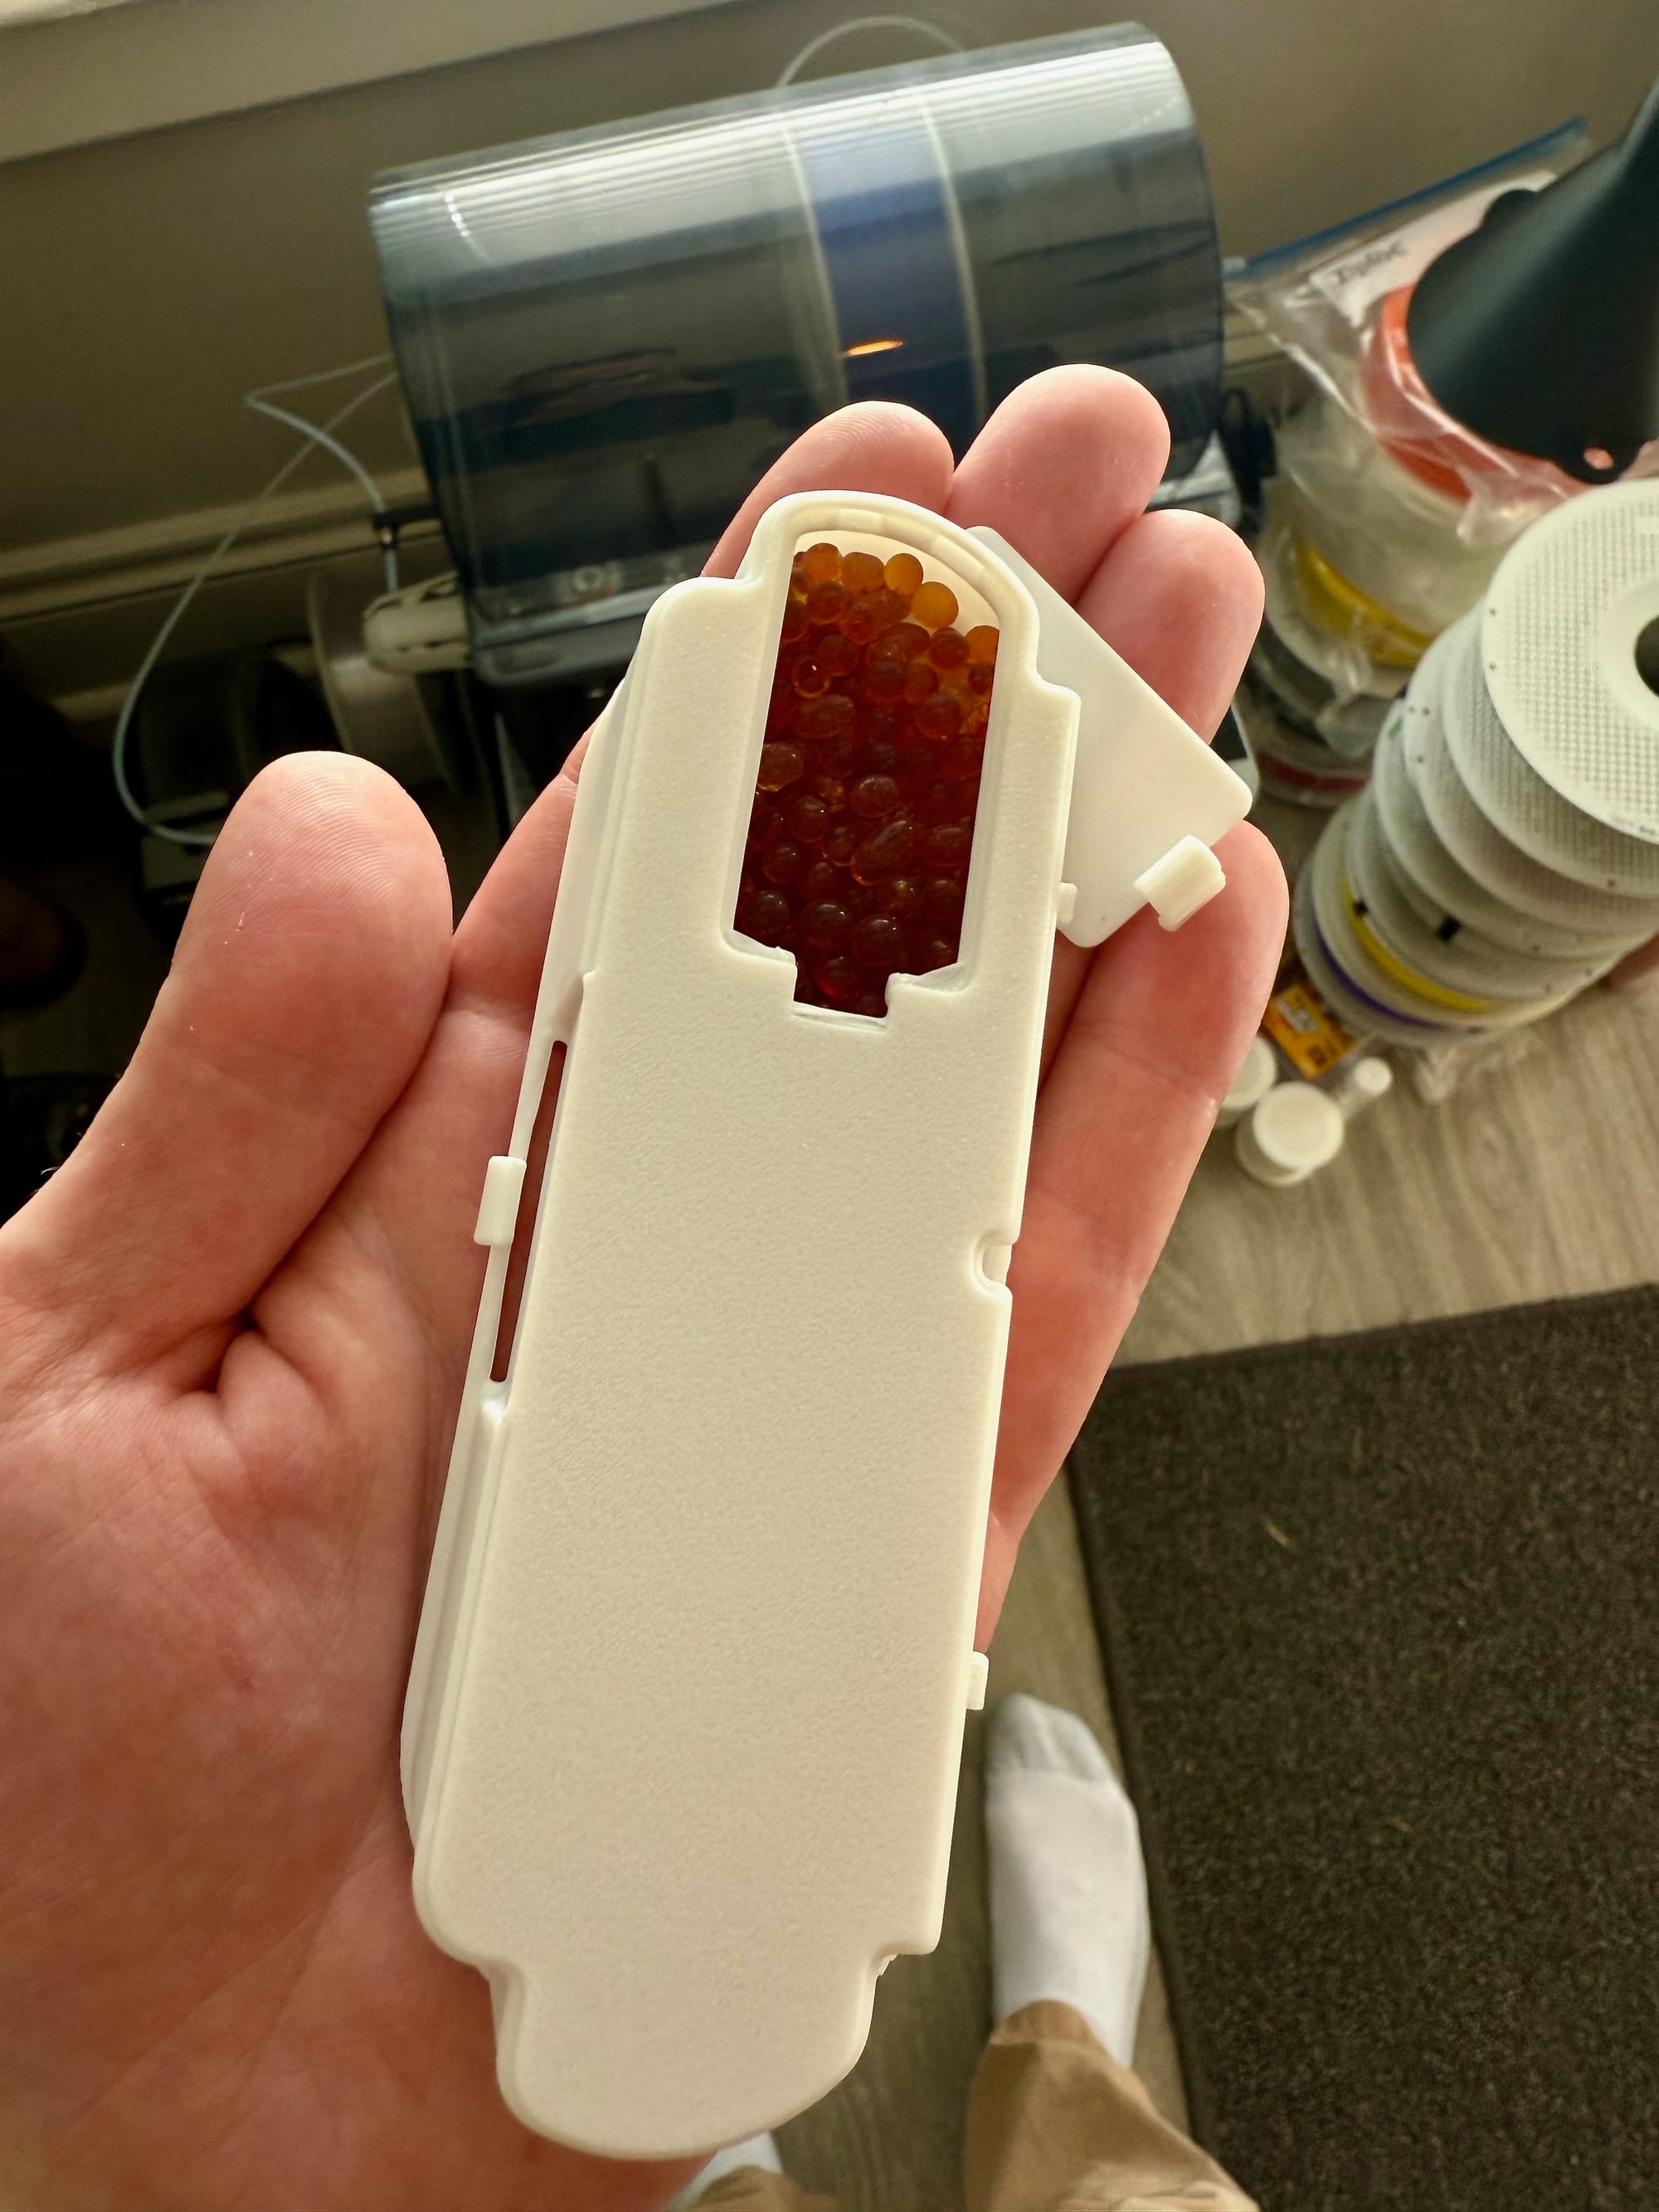
For my desiccant I found a 1 quart jug of "Premium Orange Indicating Silica Gel Desiccant Beads" from Dry & Dry on Amazon. I saw someone on YouTube recommend these because they're really easy to quickly tell if they need to be replaced or not when they turn from orange to almost black as they absorb moisture.
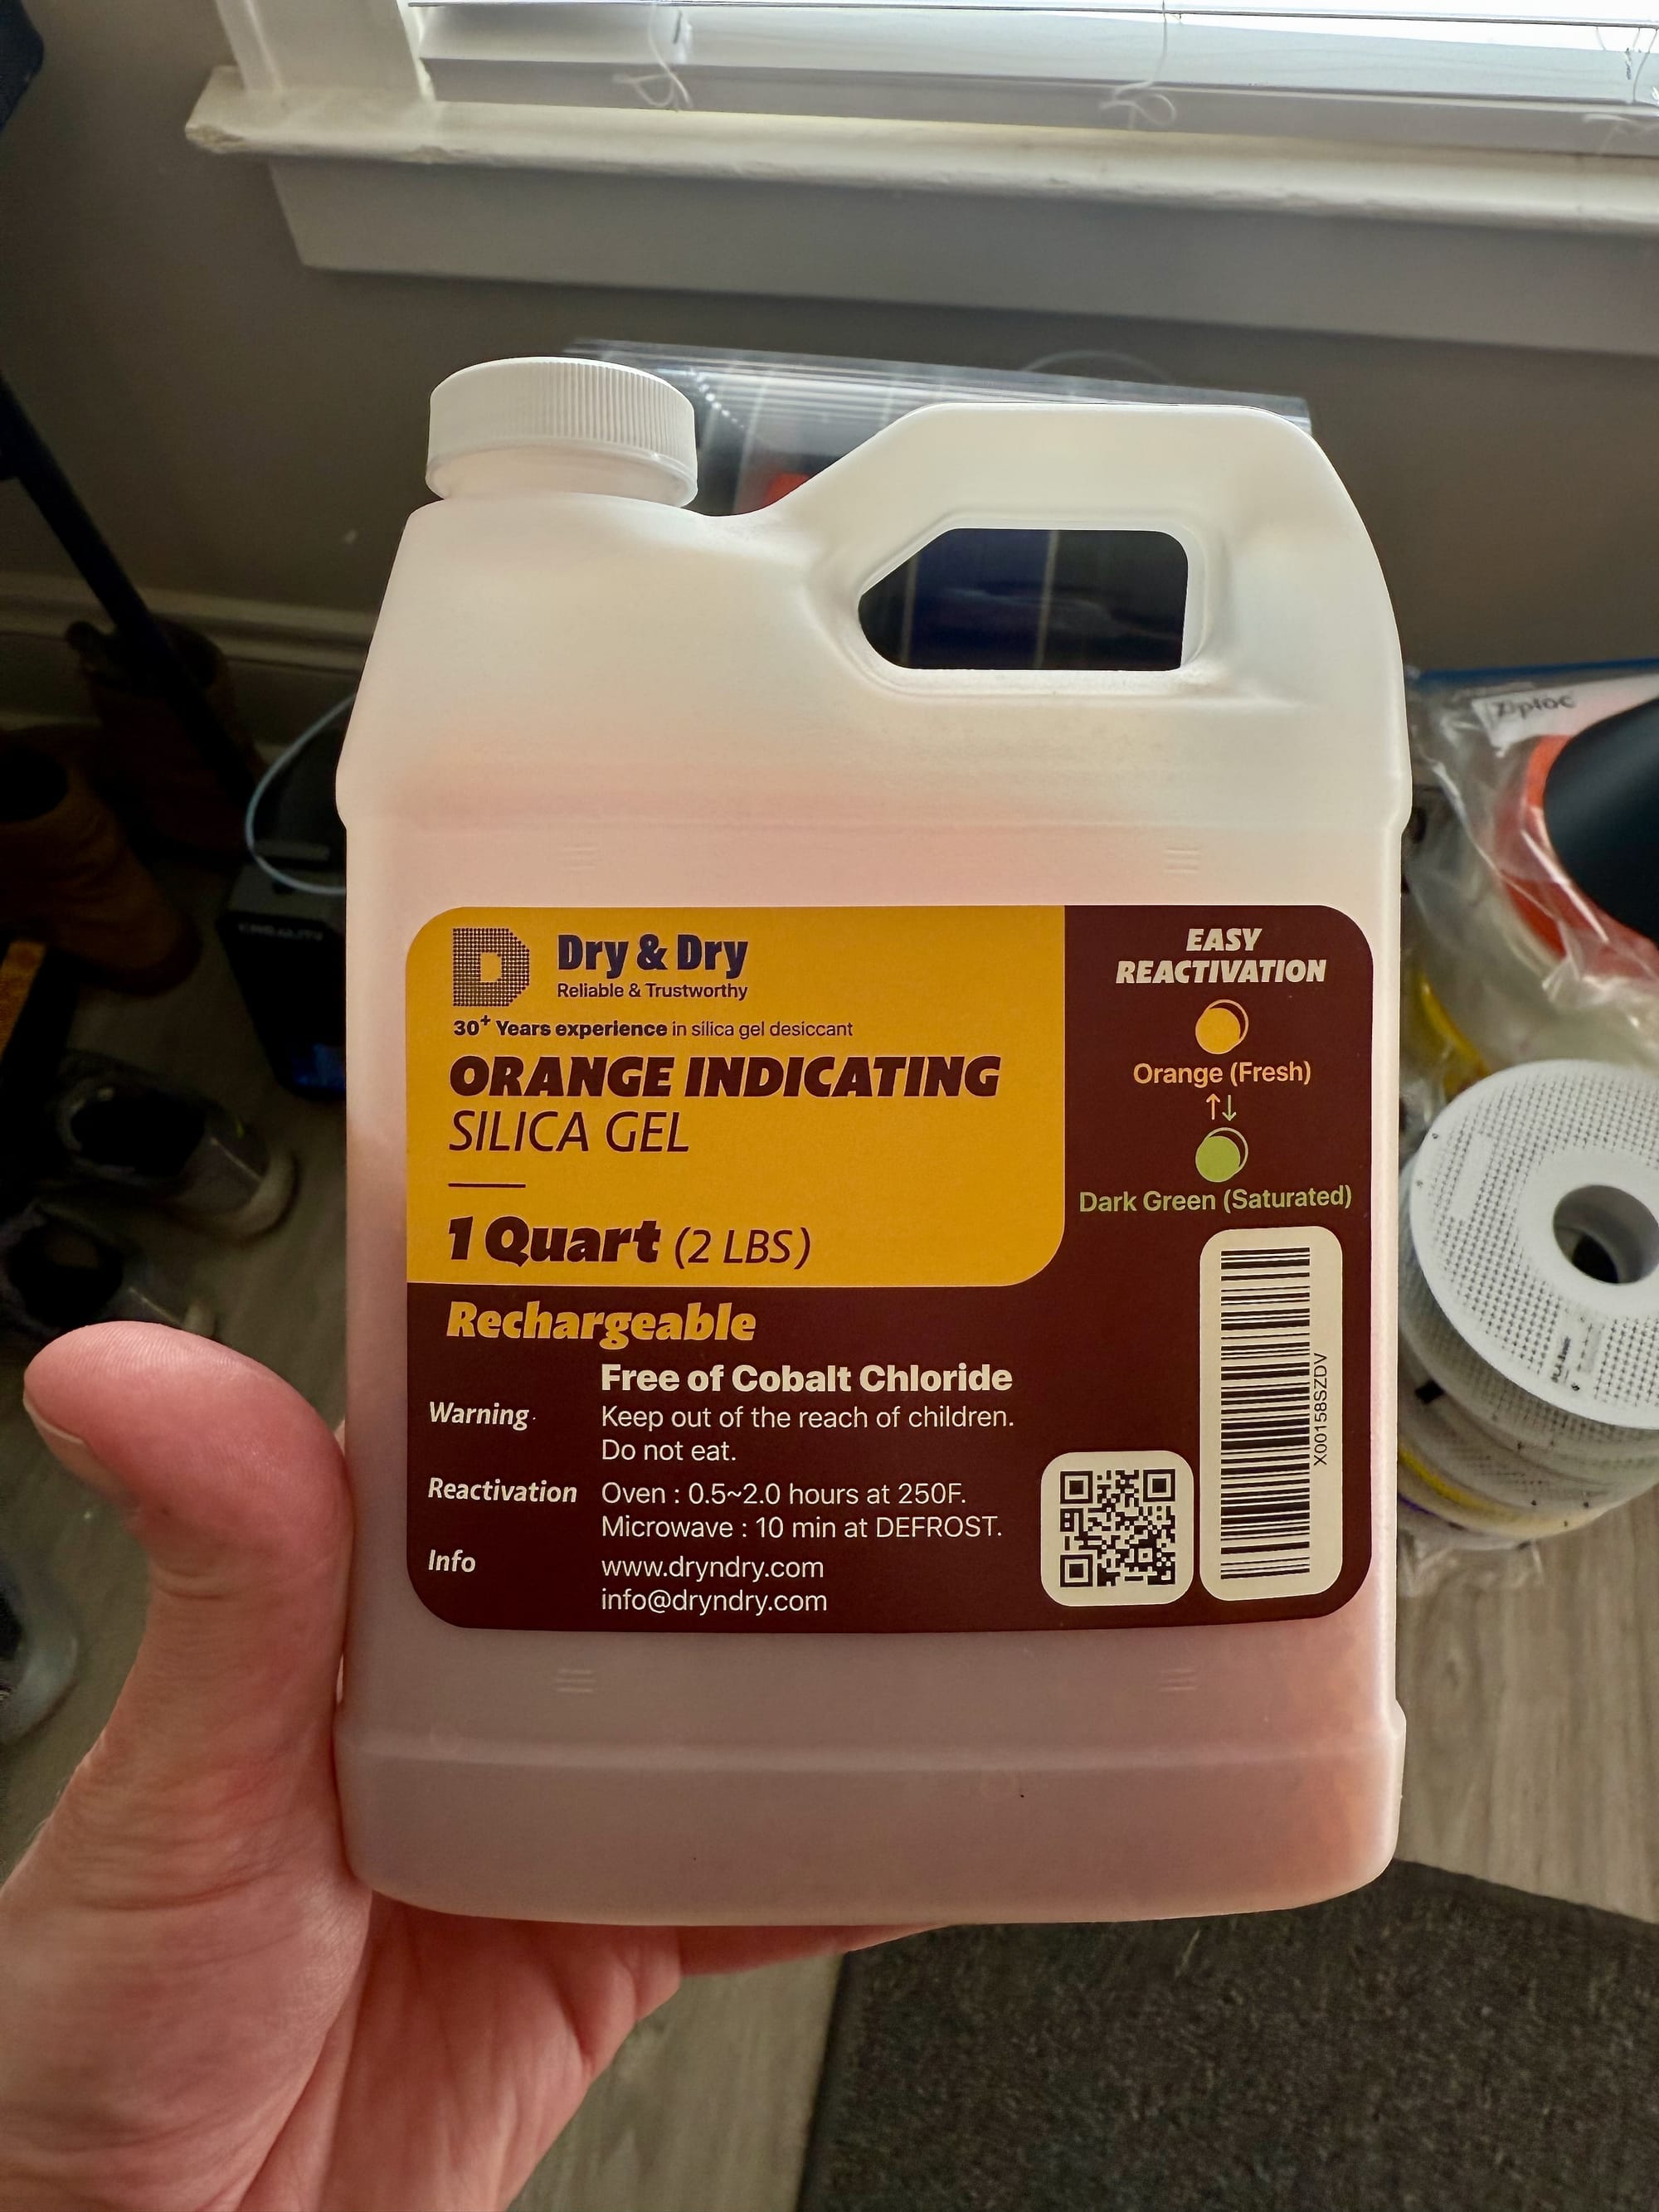
I've had this desiccant in my printer now for about 2 weeks and actually just checked it to take photos for this post and had to replace it. But 2 lbs for $16 isn't bad, we'll have to see how many refills I get out of it. It does not take long for the printer to notice the change either.
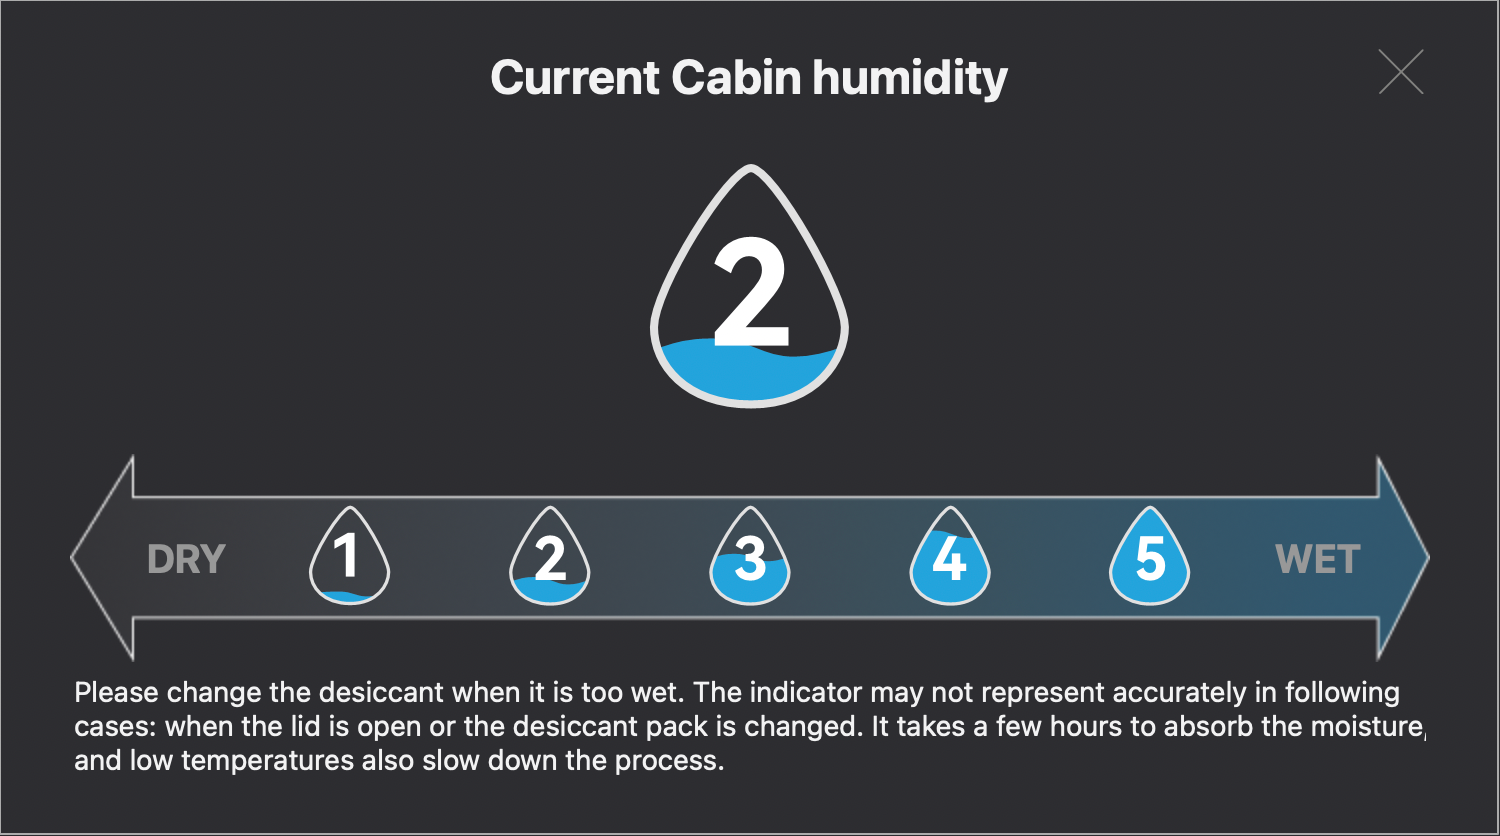
And just like that my prints are looking sharp and clean as ever, helping ensure the maximum potential of the X1 Carbon. I'm stoked that even for a consumer friendly, off the shelf printer, I can find little upgrades or add-ons to improve the quality of the printer and the day to day usage. Everyday I wake up excited to print something new, now I just need to find time to learn how to do some CAD.
If you have a X1 Carbon and are looking for a better way to manage your desiccant, give this print a try and let me know what you think!


Discussion